Webhooks tutorial for MyGeotab
Webhooks are a standard method of sending and receiving event-based notifications. Read how to create a pothole rule in MyGeotab with a webhook.


This webhooks tutorial takes you through the steps for creating a simple integration in MyGeotab. Most cloud applications support webhooks — a standard method of sending and receiving event-based notifications. Webhooks are changing the way that business automates workflows.
Webhooks Explained
Basically, webhooks are “user-defined HTTP callbacks.” You can create a webhook to deliver a text or email notification (push) or perform another activity, such as a calculation, or update a record in a database when a certain action or event occurs. Webhooks make integration faster and easier.
Benefits of using webhooks for integration:
- Set up is simple, requires minimal configuration and little-to-no development work.
- Webhooks use the standard HTTP protocol that powers the web.
- There is no infrastructure to manage as cloud platforms talk directly to each other.
- Messages are sent in real-time, making webhooks ideal for workflow automation.
- Sites such as IFTTT, Zapier, and Microsoft Flow consume webhooks and perform workflow automation, making it very easy to connect popular cloud applications.
- Most large cloud applications support sending and receiving of webhooks for automation.
Webhooks Tutorial: Setting Up a Webhook for MyGeotab
Imagine you are a municipal fleet manager and the public works department has a special request. Can you use MyGeotab to gather the location of potholes and add them to a spreadsheet in Google Drive?

Creating the pothole rule in MyGeotab is going to be easy, but how are you going to get the data into their spreadsheet? Connecting MyGeotab to Google Drive will require integration. But, doesn’t integration always require developers, infrastructure, and lots of time? In the past, the answer would have been yes. However, these days, we now have a very simple way of getting your systems to talk to each other.
So, let’s take a look at how quickly you can setup a webhook to automate the process of collecting and recording a list of potential pothole locations by combining MyGeotab with IFTTT (the web-based service for creating applets).
Step 1: Set up a MyGeotab rule to detect potholes
The first step is simple. Create a rule in MyGeotab to detect potential potholes.
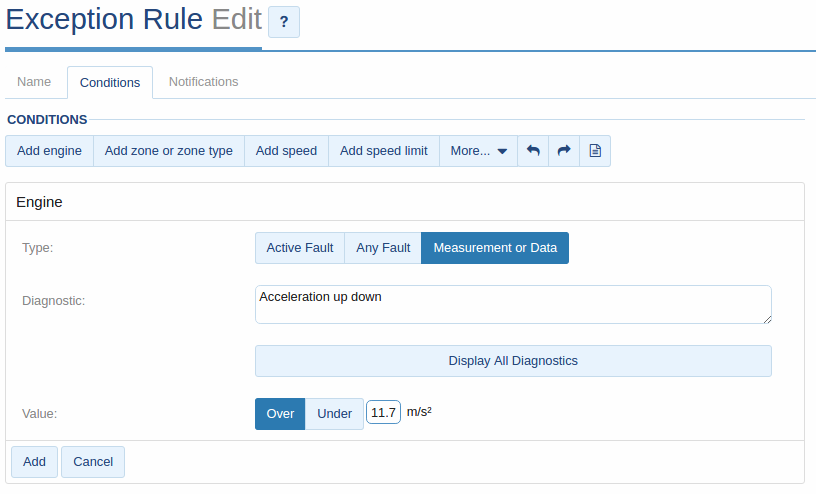
Using the Acceleration up down engine measurement, you can detect when a vehicle moves vertically. So, let’s add a new rule named “Pothole” for vehicles travelling over 40km/h with an Accelerometer up down value of Over 1.2G (or 11.75m/s2). This should capture potential pothole locations, while eliminating potential false positives such as speed bumps and parking lots.
Step 2: Create an Applet in IFTTT
Now that our rule is running, we need to give MyGeotab a place to send new webhook messages. To do this, you can head over to IFTTT to use their Maker service, which allows you to trigger your own custom IFTTT workflows.
Get started by creating a new Applet. Applets consist of a trigger (the event that starts the Applet) and an action (what happens once the trigger runs). Create a new applet and choose the Maker service. Set it to receive a web request, and give it a name.
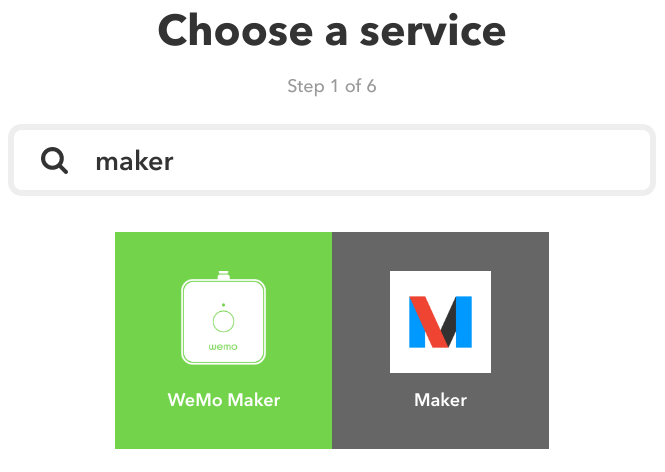
First, in IFTTT, select the Maker service.
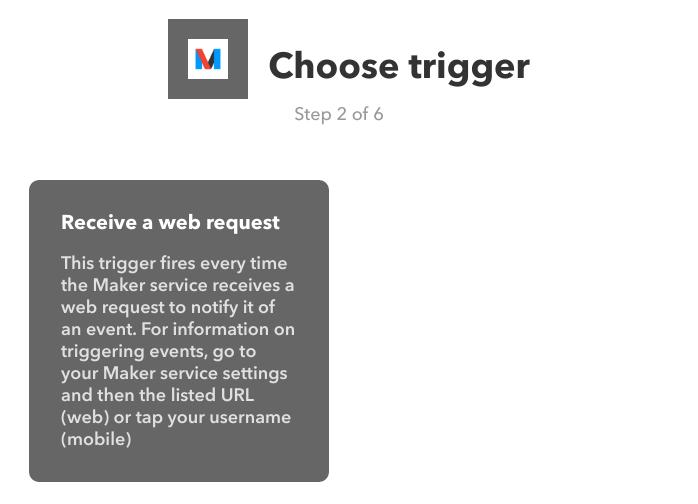
Next, choose a trigger. In this case, we're choosing Receive a web request.
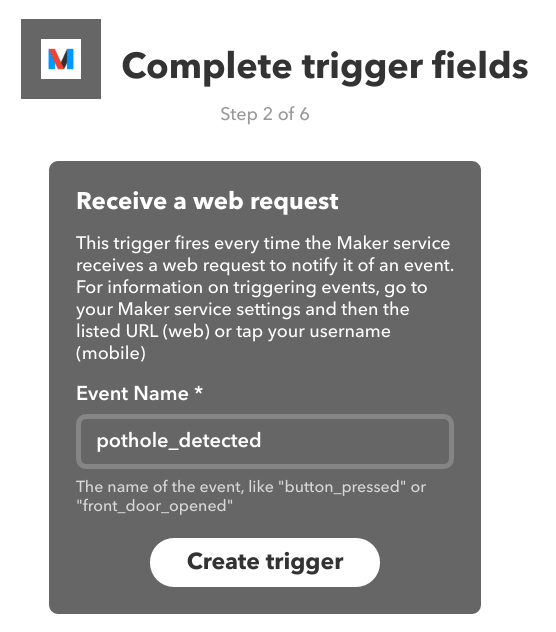
Type in an Event Name.
Now that the trigger is ready, let’s create an action. Since we are looking to add pothole locations to a Google spreadsheet, we are going to use the Google Drive service. We’ll tell IFTTT to create a new row in our Google spreadsheet each time a request is received.
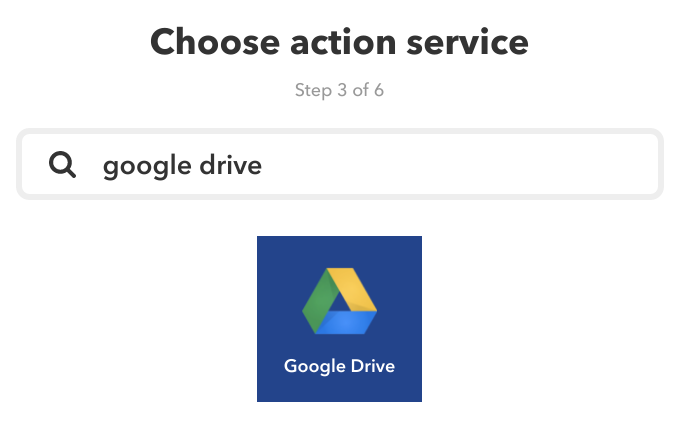
Select Google Drive as the action service.
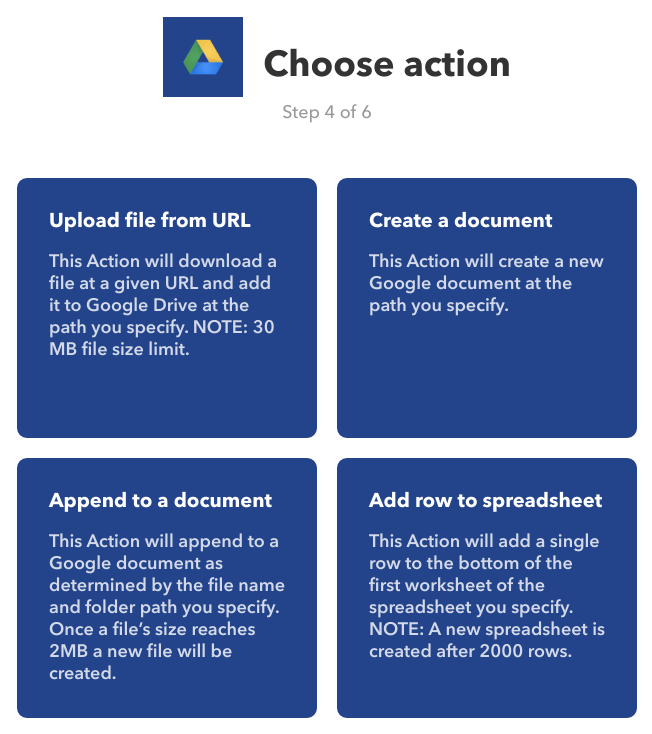
Choose an action. We're going to choose Add row to spreadsheet.
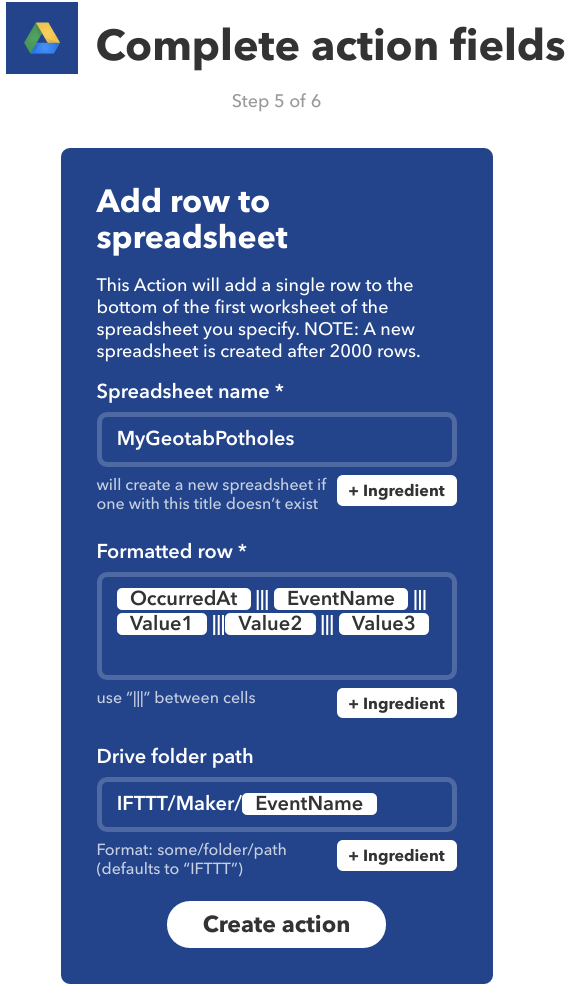
Finally, we give the sheet a name and create the action and the Applet. Note: we are leaving the Formatted row field as is. This is the format we are going to use to send our information from MyGeotab to IFTTT.
Name the spreadsheet and indicate the Drive folder path. Click Create action.
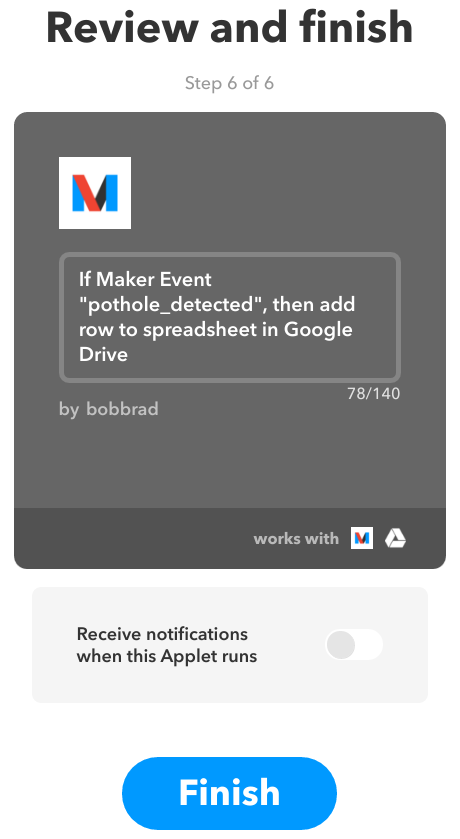
Click Finish to complete the Applet.
Step 3: Create your webhook
With the rule ready in MyGeotab and the Applet listening in IFTTT, the only thing we have left to do is set up the webhook.
Heading back to MyGeotab, we can setup a webhook by going to Rules > Notification templates > Add web template.

Give the template a name, select POST, and add your IFTTT Maker Service link which contains your API key and event name. For more info, go to the IFTTT Maker web site.
Now, create a Web Request Template in MyGeotab
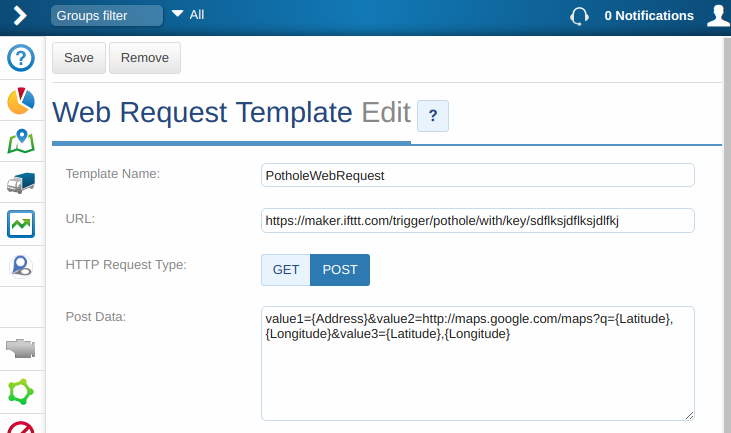
Finally, we choose which data we want to pass to our spreadsheet. By default, the IFTTT Applet is expecting three values in this format: value1=X&value2=Y&value3=Z. You can replace X, Y and Z with anything you want, including any of the available tokens. For my spreadsheet, I am passing in the address, a link to a Google Map, and the Latitude and Longitude of the pothole.
Once you save the new notification you need to add it to your pothole rule. To edit your rule, select the Notifications tab and click the More button, followed by WEB REQUEST. Find your new web notification and click Add.
That’s it. You are now up and running and MyGeotab will use webhooks to send new potholes to Google Drive.
Edit the Rule in MyGeotab. Add a webrequest.

You should immediately start seeing rows in your Google sheet for each pothole event. Within minutes, I received an entry in my sheet showing a pothole just outside the Geotab office and over the course of four months I captured over 3000 unique pothole locations.
Examine your existing software and business processes and unlock new possibilities by leveraging MyGeotab webhooks. You might want to add reminders in your calendar when a check engine light comes on, or record customer visits in your CRM. Either way, look to webhooks to provide a quick and easy method of integration.
We hope you enjoyed this webhooks tutorial. If you have an idea for another tutorial, please let us know by leaving a comment below.
Related:
The Case of the Slow-Poke Query: A Lesson on Using the API Efficiently
A Developers Introduction to the ShimId
Subscribe to get industry tips and insights

Bob Bradley is the Associate Vice President, Data Solutions for Geotab, transforming data insights from connected vehicles into actionable solutions for customers and partners
Table of Contents
Subscribe to get industry tips and insights
Related posts

How to avoid high downtime costs for construction fleets
March 10, 2025
2 minute read

Geotab’s new fleet Sustainability Center simplifies fuel and emissions reduction
March 3, 2025
3 minute read

What Is Fleet Management? A Complete Guide for Fleet Managers
January 21, 2025
5 minute read

CSA scores: What they are and how to check and improve them
December 3, 2024
5 minute read
